What happens during countertop fabrication and installation?
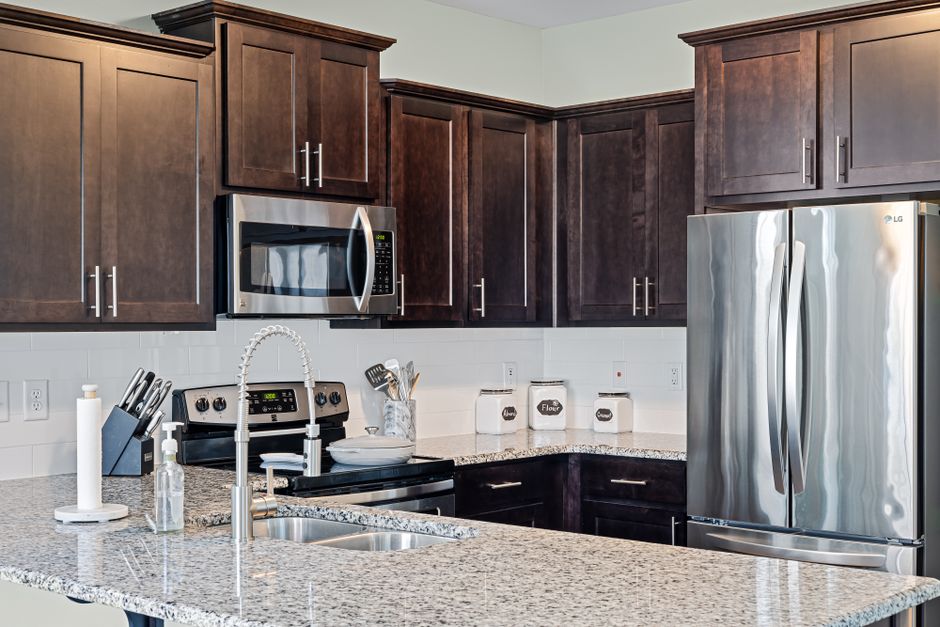
Three-eighths of an inch of error along a wall is enough to open a gap that takes a pencil tip, and every job logged by countertops omaha alone in the kitchen shows the same thing, that a finished countertop in Omaha, NE is only as straight as the template it was cut from. The work runs in a fixed order, from measuring to cutting to setting, and each step leaves little room to fix the one before it.
Templating the Room
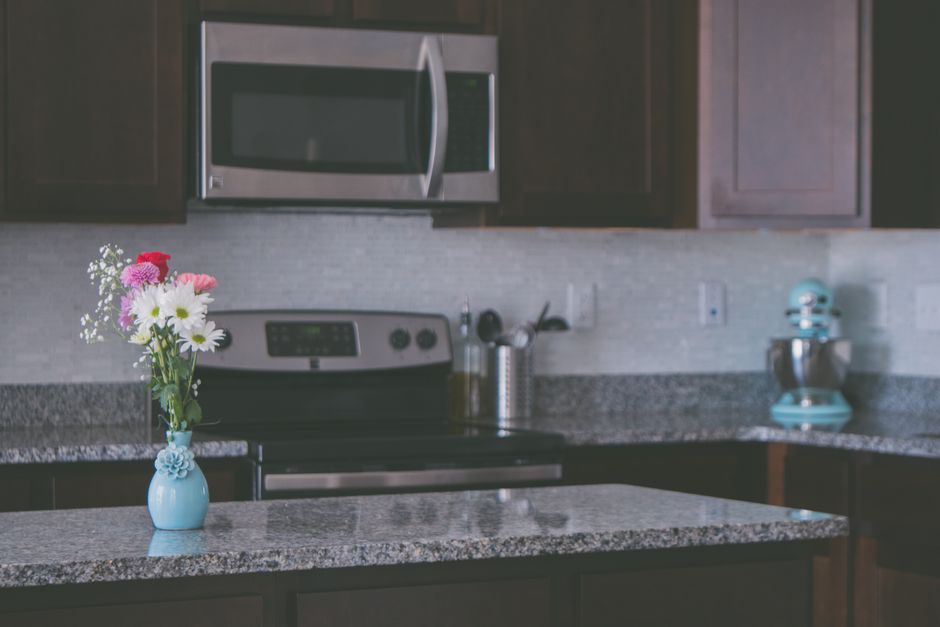
The template is taken after the base cabinets are fixed and level. A digital measuring system or physical patterns capture the real cabinet and wall shape, including walls that bow and corners that are not square. Templating records the sink location, the overhang past the cabinet face, and where each seam will fall. Not every kitchen can be templated and installed on the same day, since cutting sits between the two.
Reviewing the Slab Layout
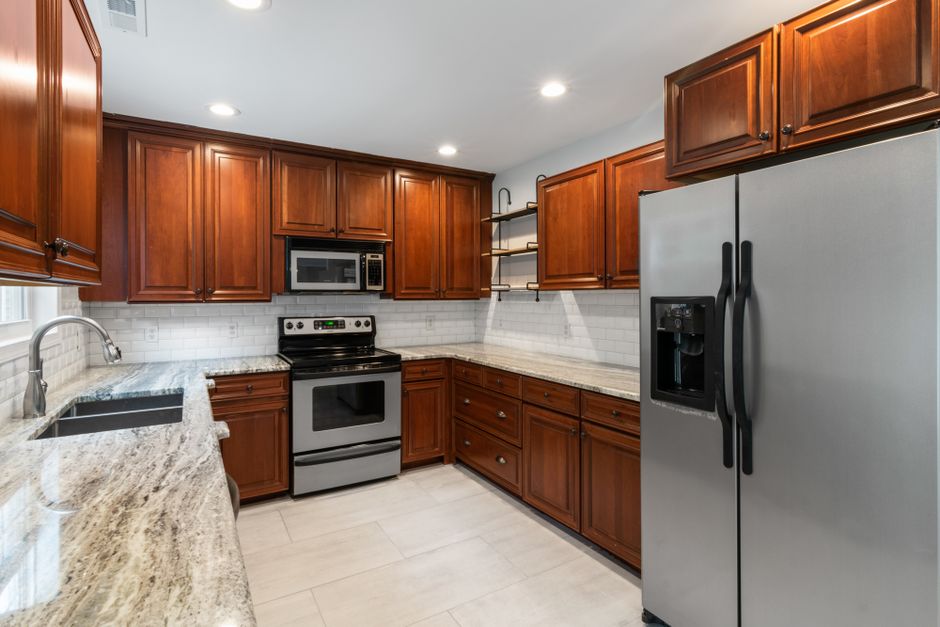
Natural stone varies from slab to slab, so granite, marble and quartzite need a layout review before anything is cut. Laying the template over the slab shows how veining and color will fall on each piece. Two slabs sold under one name do not look identical. Seam placement is settled here, kept clear of the sink cutout where the layout allows, because the narrow strip beside a cutout is the weakest part of the top. Quartz is more uniform, but pattern direction still needs checking. A remnant can suit a vanity or a small island, while a kitchen run usually wants full slabs.
Cutting and Shaping Edges
Fabricators commonly use saws, CNC machinery, and polishing equipment to cut the pieces and shape the edge profile. An eased edge takes the least work. A bullnose takes more, and a waterfall edge needs mitered pieces that must match across the corner. Water runs over the blade when cutting stone and engineered stone. It cools the tools and helps control hazardous silica dust.
Carrying and Setting
Pieces are carried upright, on edge, because a long piece cracks more easily when carried flat. In the Old Market and other older buildings, narrow stairs and tight turns make that harder. Installers dry fit each piece and check the fit and level. They shim where the cabinets dip, then secure the top to the cabinets with adhesive.
Seams and the Sink
Seams are joined with tinted adhesive and pulled into alignment. That makes them less visible, but usually not invisible, and raking light across the joint will show it. An undermount sink is attached and supported before the plumbing is reconnected. The adhesive or sealant needs time to cure as its manufacturer directs, so the sink stays unloaded until then.